Characterisation
MEB
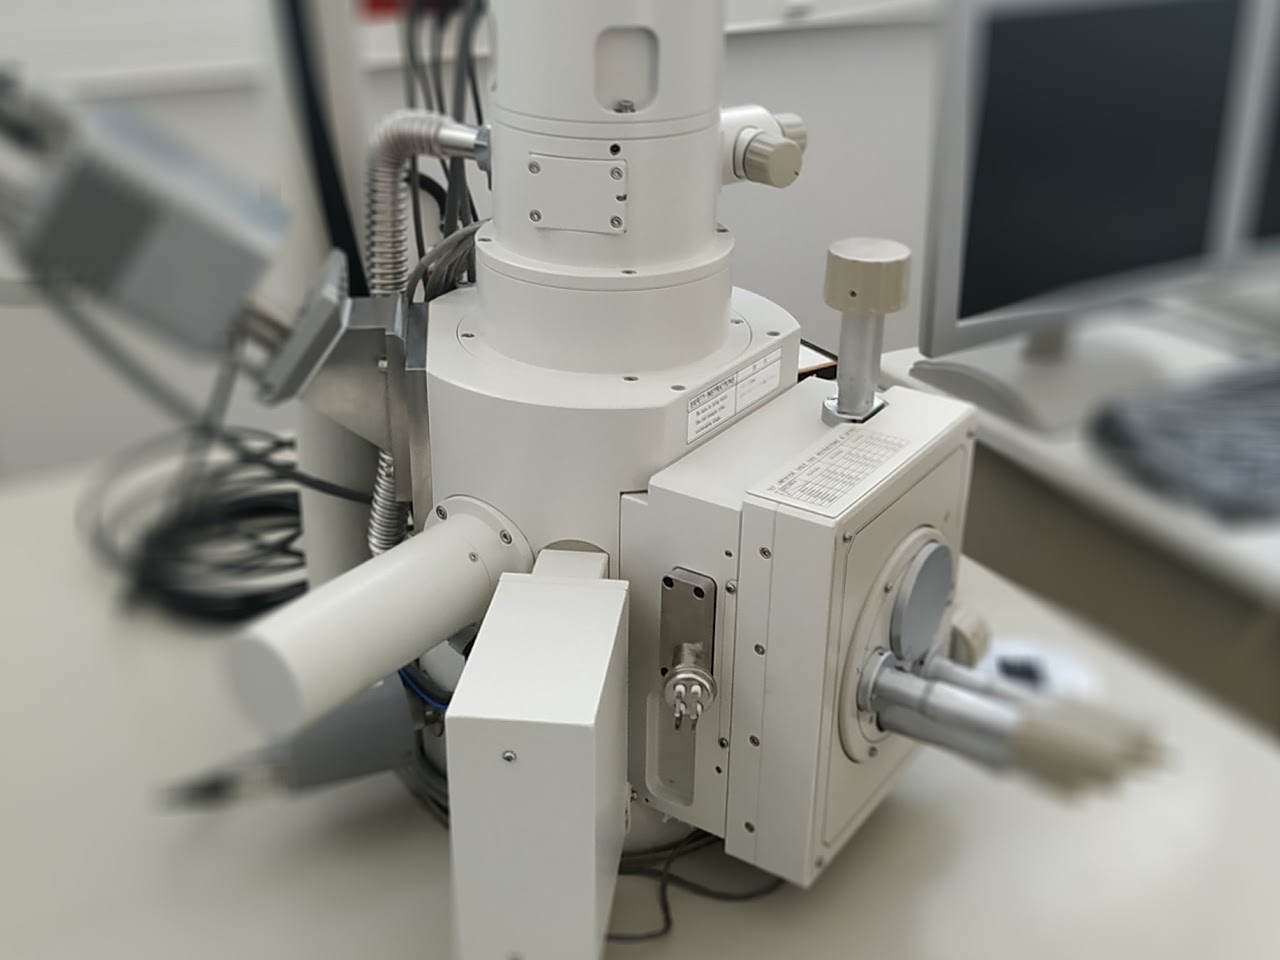
Scanning Electron Microscopy (SEM) is an electron microscopy technique capable of producing high-resolution images of the surface of a sample using the principle of electron-matter interaction. The principle consists of an electron beam scanning the surface of the sample to be analysed which, in response, re-emits certain particles. These particles are analysed by different detectors which allow an image of the surface to be reconstructed.
Capacity
Useful dimensions (X,Y,Z): 80 x 40x 50 mm Resolution: 3.5nm (30 kV), 20nm (10 kV) Magnification: x8 to x300 000EDS Detector
X-ray Tomography
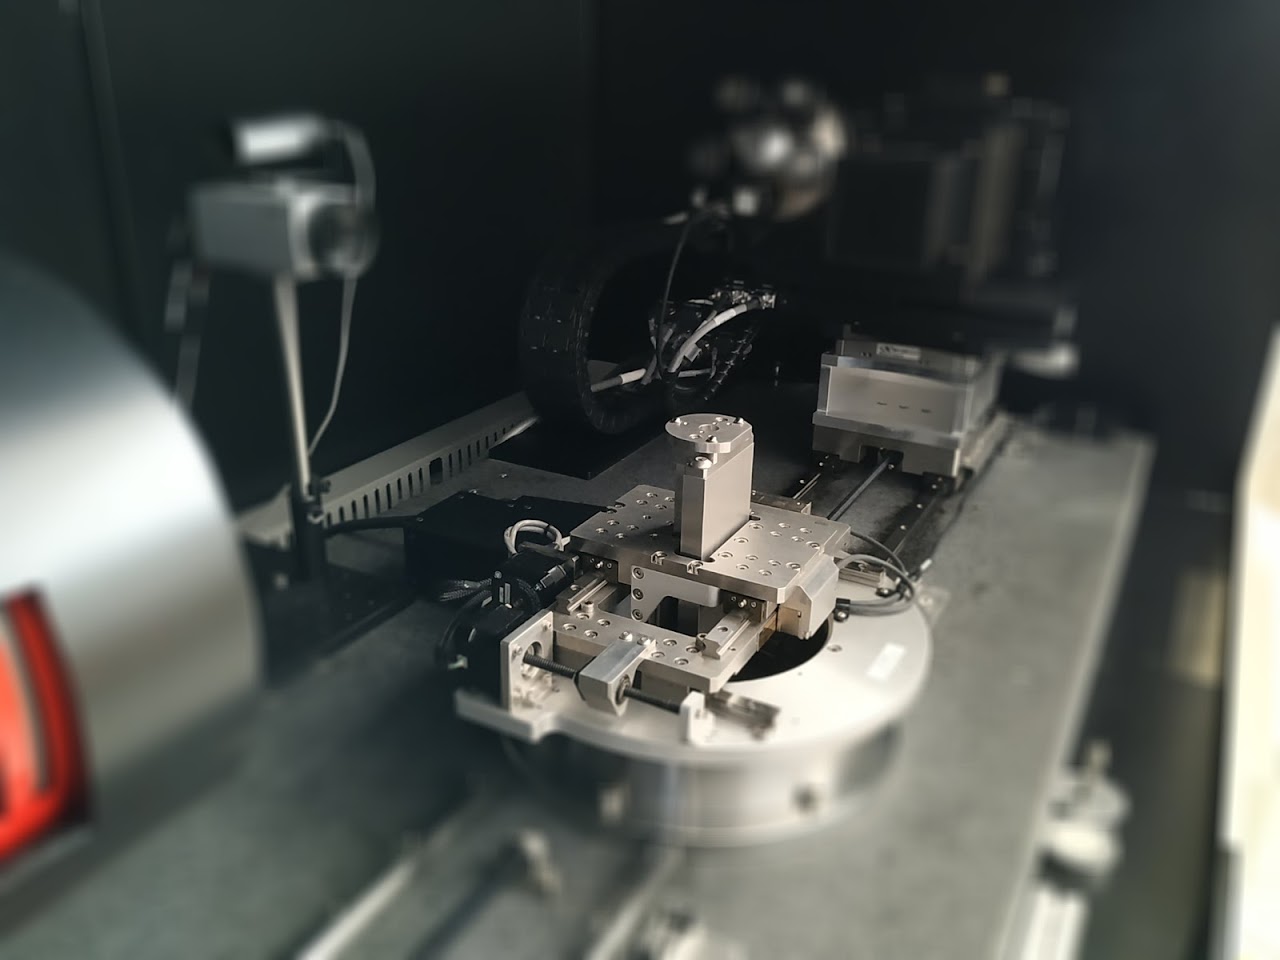
X-ray microtomography is a non-destructive 3D imaging technique that allows the volume of a sample to be reconstructed in 3 dimensions. An X-ray passes through the sample and is more or less absorbed depending on the density of the material. A series of images is taken from different angles and by mathematical processing the object is reconstructed in 3D with a resolution of up to one micron. This reconstruction makes it possible to characterise the internal structure of the sample at the level of its density and to deduce its structuring if the material is heterogeneous, its porosity, possible defects (inclusions, cracks), etc…
Capacity

AFM
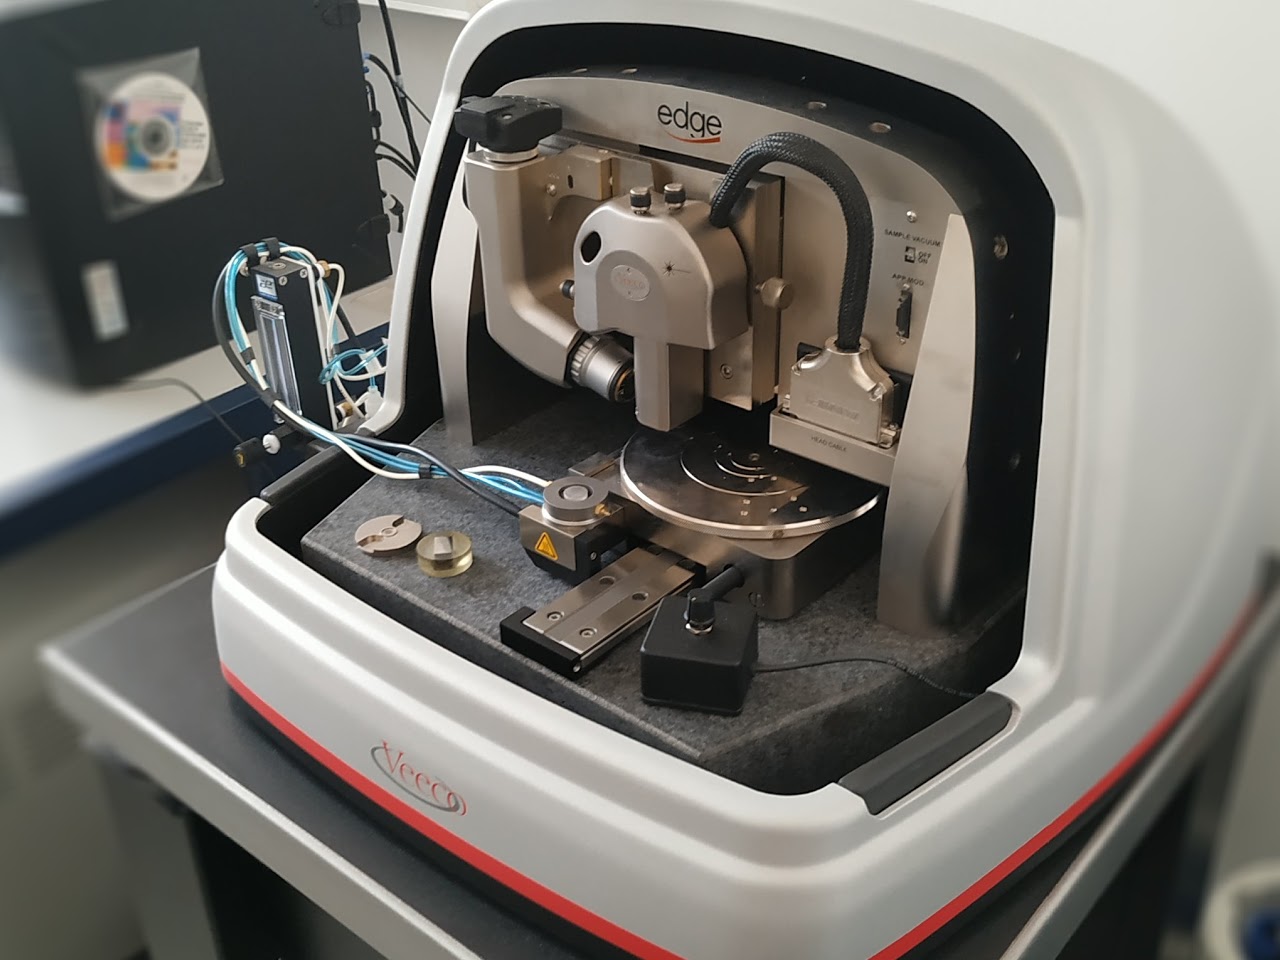
The atomic force microscope (AFM for atomic force microscope) is a type of local probe microscope for visualising the topography of the surface of a sample. This type of microscopy is essentially based on the analysis of an object point by point by means of a scan via a local probe, similar to a sharp point. This mode of observation then enables the local mapping of the physical quantities characteristic of the object being probed (force, capacity, radiation intensity, current, etc.).
Capacity
Sample size : 150 mm x 150 mm x 15mmX
– Y Scan
Range : 90µm x 90 µm
Z
Range : 10 µm
Z
Position Sensor
Noise level: < 0.2nm
Profilometer
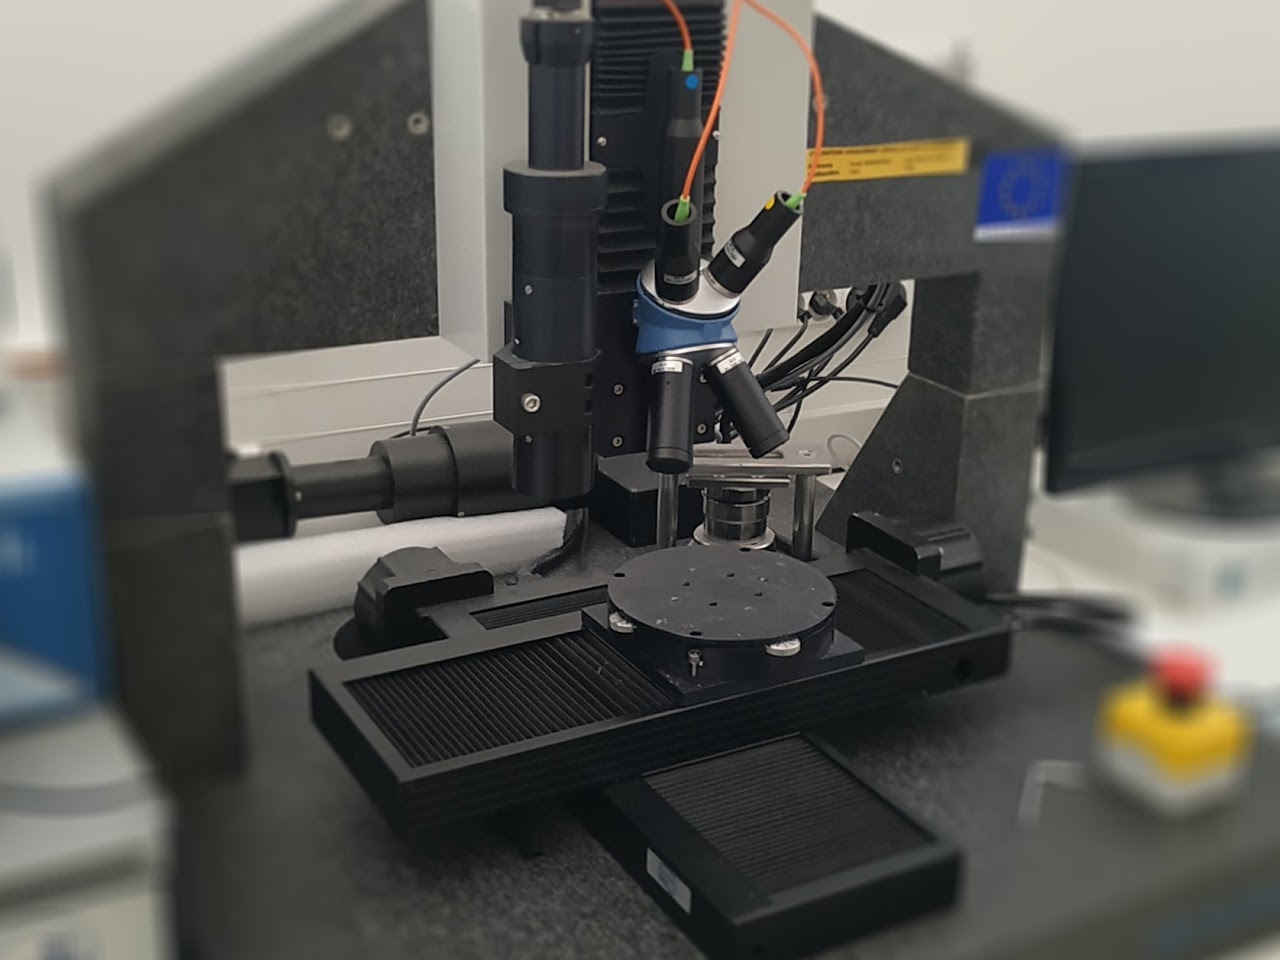
A profilometer is an instrument used to measure the relief of a surface, particularly in order to evaluate its roughness or micro-geometry. The chromatic confocal sensor is a passive sensor that focuses different wavelengths of light at different depths. The light received in return is analysed by a spectrometer and the altitude is measured by colour analysis.
Capacity
Dimensions: 200 x 200 x 100 mmZ Measurement ranges: 400 to 12000 μmZ Resolution= 800 nm to 20 nm
Rheometer
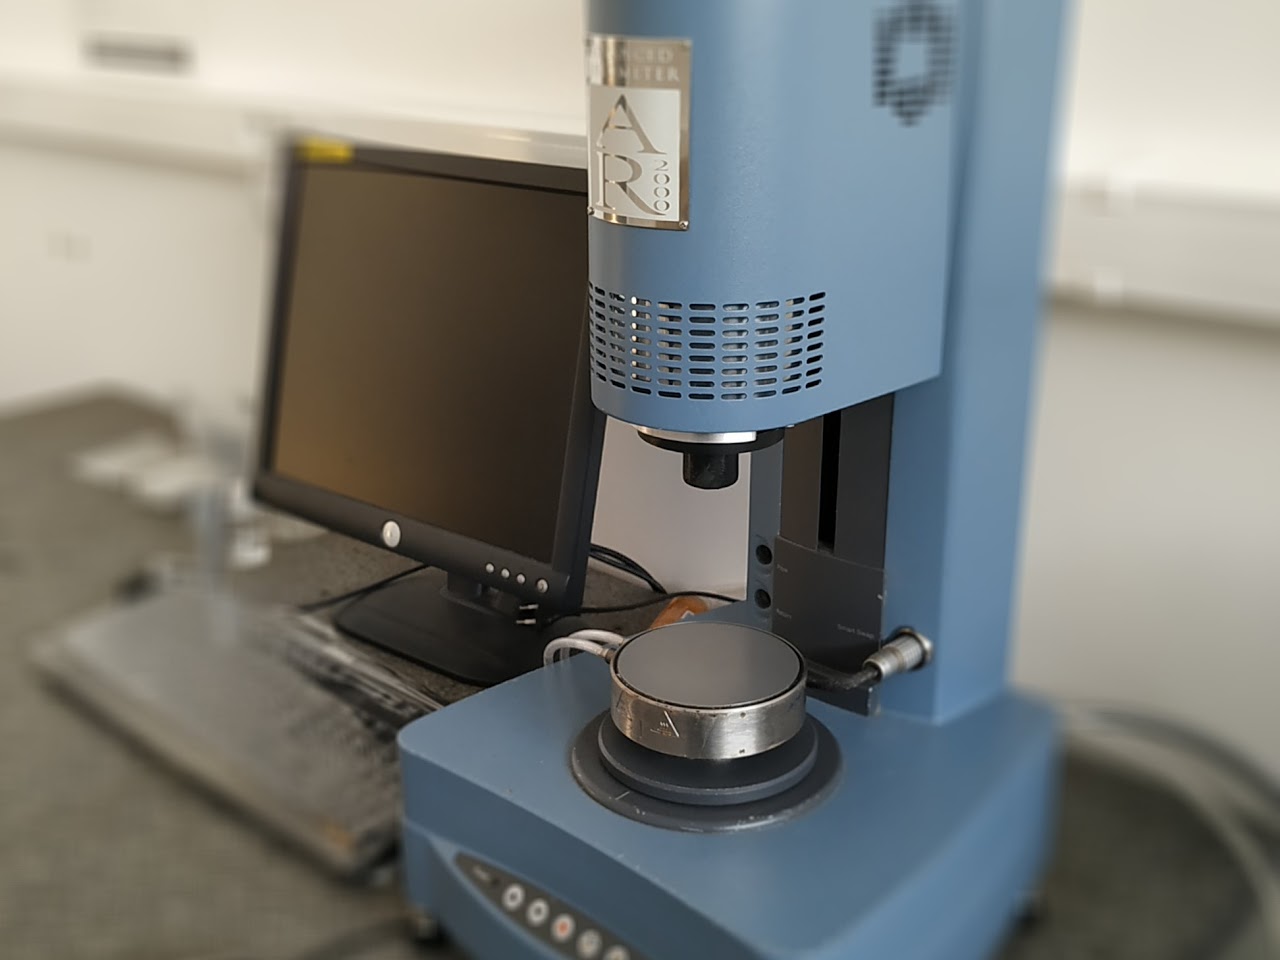
Capacity
Angular Velocity Range: 10-2 to 100 rad s-1
Torque Range: 1 μN.m to 50 mN.m
Temperature (ETC): up to 400°CStrain and stress controlled
Frequency range: 0.1 μHz to 40 Hz
Processing
Press
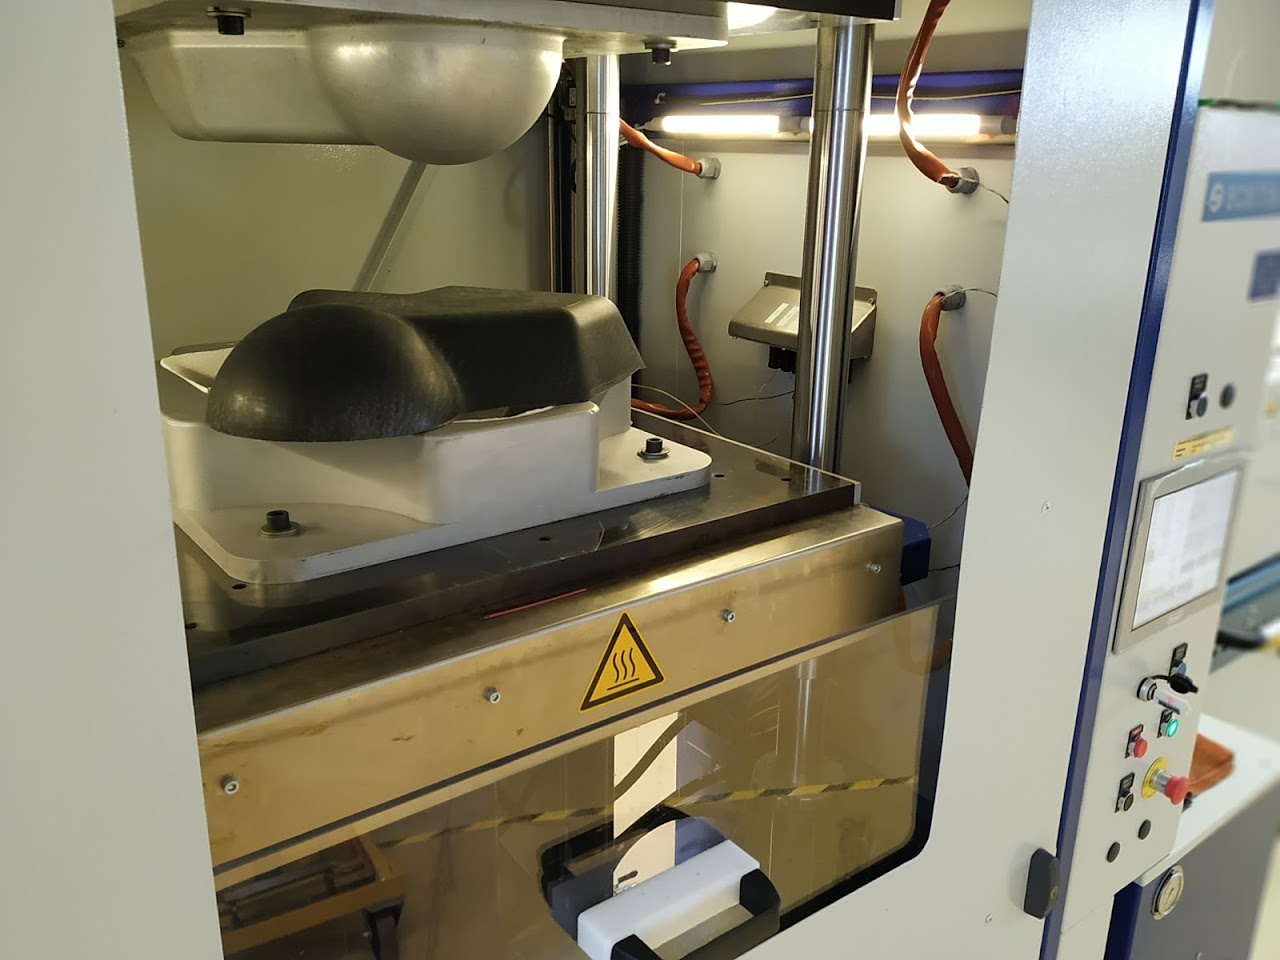
Hot platen press dedicated to tool closing or thermoforming processes for organic matrix composite parts. Thermoforming is a technique which consists in taking a material in the form of plates (reinforcement + TP matrix) and heating it to soften it so that it can be shaped in a mould.
Capacity
Clamping force up to 750
kN
Max temperature up to 300°C
Dimensions 600mm x 600mm
RTM
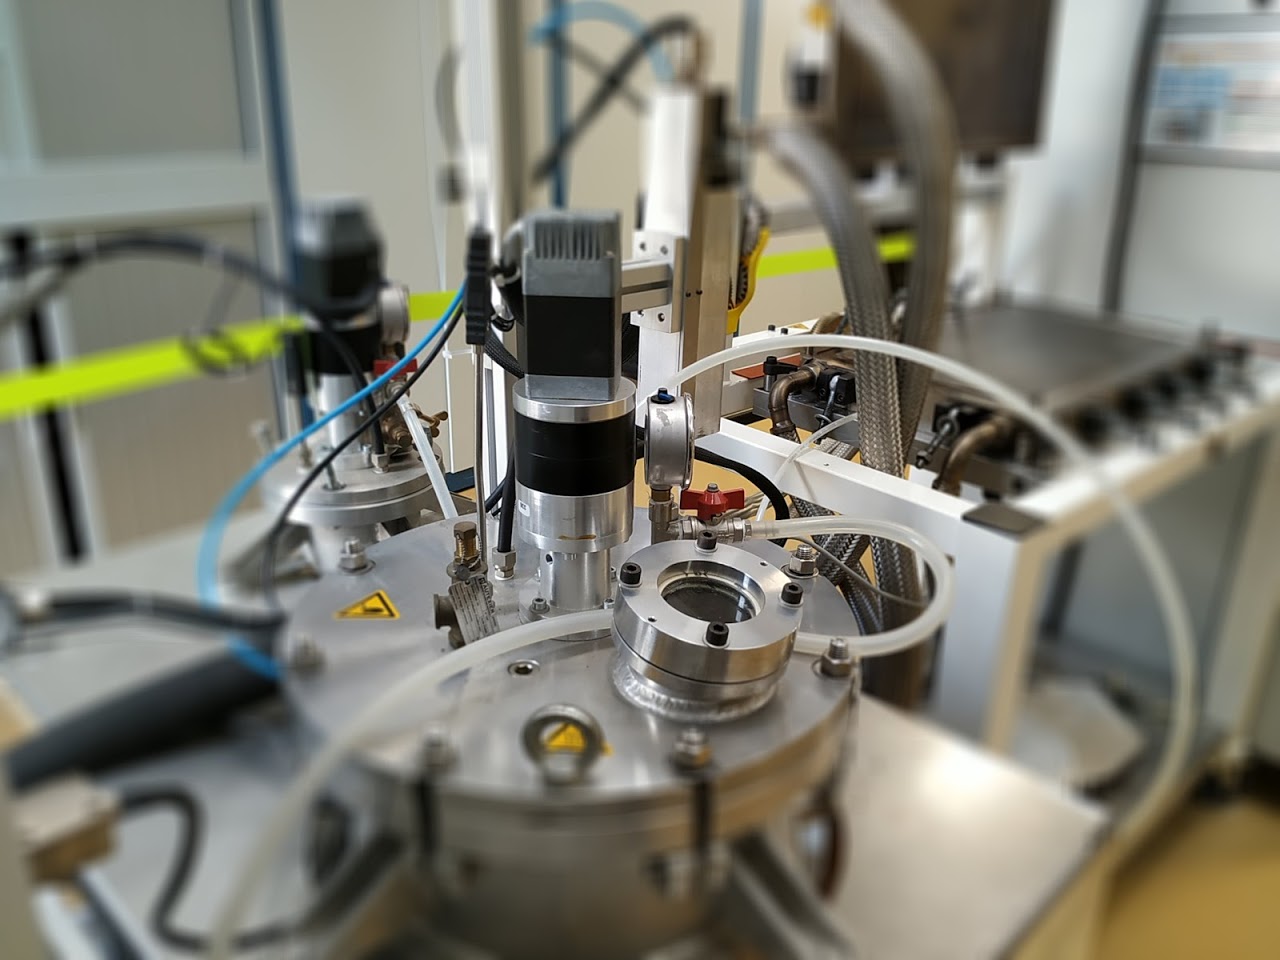
Resin transfer molding (RTM) is a process for manufacturing parts made of composite materials. It is an industrial process of low-pressure injection of liquid resin into a rigid, closed mould. This process makes it possible to obtain composite parts with precise dimensions and a good surface finish over their entire surface. It is particularly suitable for small and medium series.
Capacity
Max temperature up to 180°C
Max flow rate 22 cm3/min
Tank volume 26L + 6L
Mix ratio 100/100 to 100/10
Autoclave
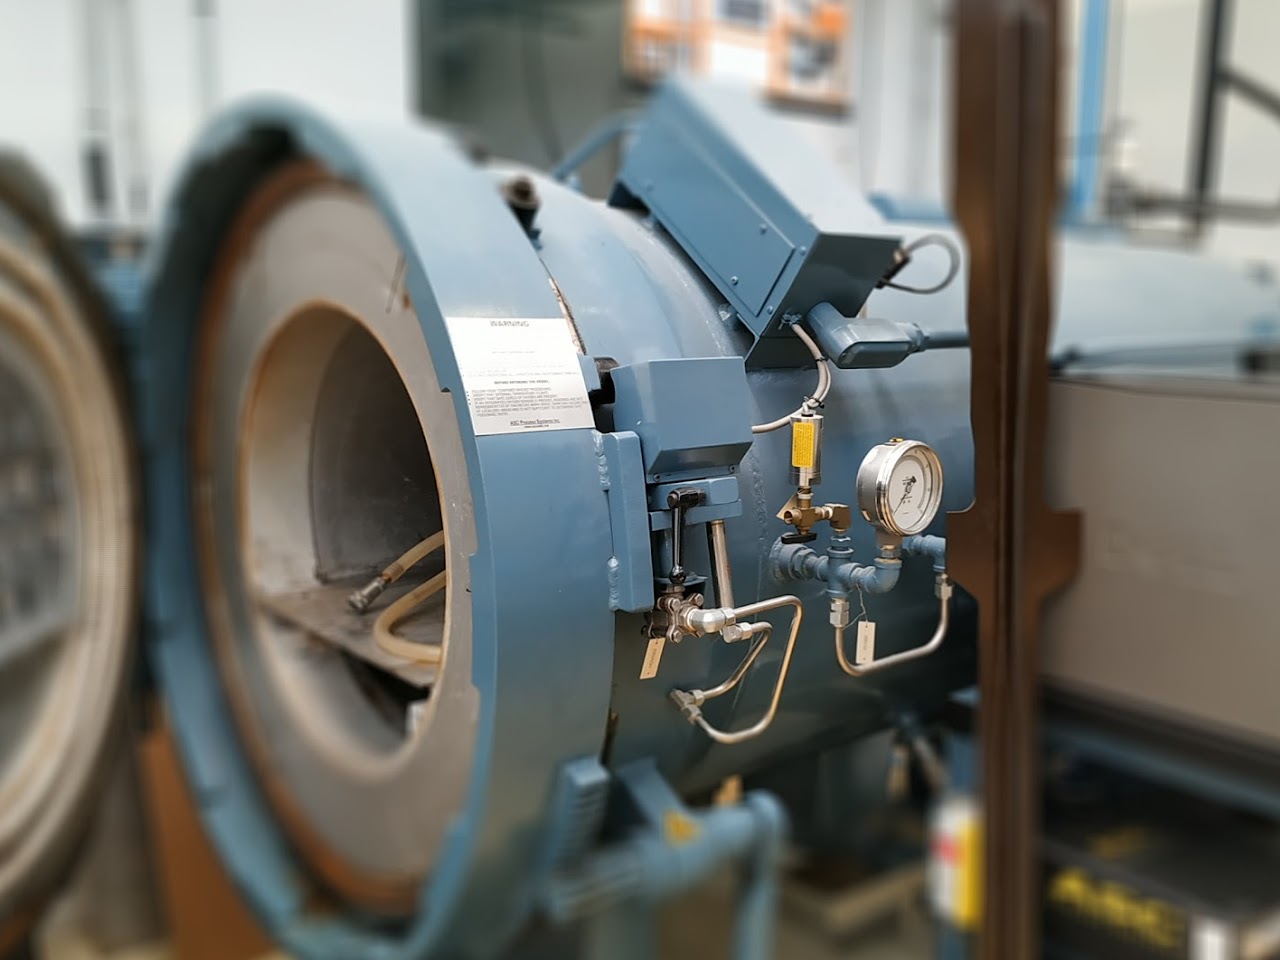
The autoclave is a hermetically sealed chamber designed for the curing of composite materials. A thermal cycle and a pressure cycle can be applied and controlled simultaneously. The autoclave makes it possible to obtain parts with a healthy material and whose temperature/pressure cycle is perfectly controlled and totally reproducible. This means of application, in view of its cost, is reserved for high performance composites.
Capacity
Max temperature up to 400°C
Max pressure up to 14 bar
Vacuum level 850 mbar
Dimensions 1750mm x 500mm